Managing projects
A project contains model(s) that describe the target system or application. It is to be edited and completed by members of a team.
Adding project
- Visit the URL of your VP Online cloud entry point through web browser.
- Log in your account.
- Click on your profile image at top right and select Administration from the popup menu.
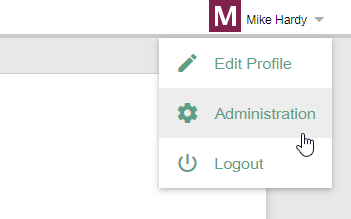
Open Administration page - Select Projects from the menu on the left.
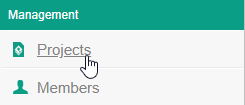
Open Projects menu - Click on New Project and select the location, which is a folder that can be created in the previous screen, by clicking New Folder.
- Press on + next to the members or member groups to assign them to the project. Note that there must be at least one member be assigned to the project in order to add the project.
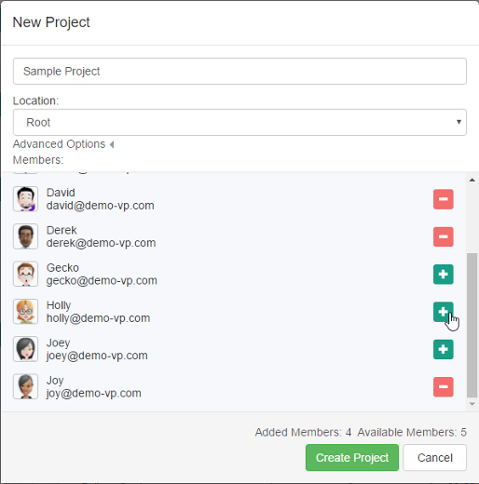
Creating a project - Click on Create Project.
- By default, the members who have been assigned to a project will have both the read and commit permissions on the project. If you want to change their permissions, move your mouse pointer over the row of project and then click Edit.

To edit a project - Open the Members tab. From there you can change the permissions of members. The Read permission means that member can only open the project in Visual Paradigm and read its content. The Read & Commit permission means that member can both open project and commit changes to server.
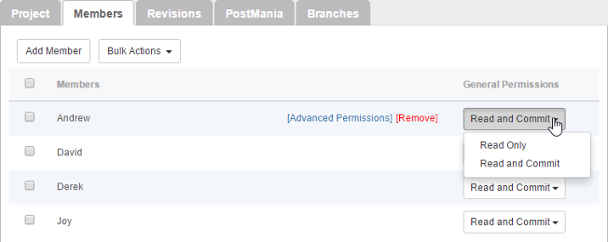
Configuring members' permissions on this project - Click Save at top right to save the changes.
Renaming project
Renaming of project has to be done in Visual Paradigm, the client application. Team members who have "Update Project" permission can rename a project by take the following steps in Visual Paradigm.
- Select Project > Properties from the toolbar.
- In the Project Properties window, edit the project name.
- Click OK.
- Commit the change.
The other team members are suggested to perform an update to have their local project files renamed.
Deleting project
By deleting a project, team members will no longer be able to commit changes to server nor to open the project. Project deletion cannot be undone. Think carefully before you delete a project.
To delete a project:
- Select Projects from the menu on the left.
- Move your mouse pointer over the row of the project that you want to delete, and then click Edit.

To edit a project - Click on [Delete Project] at top right.
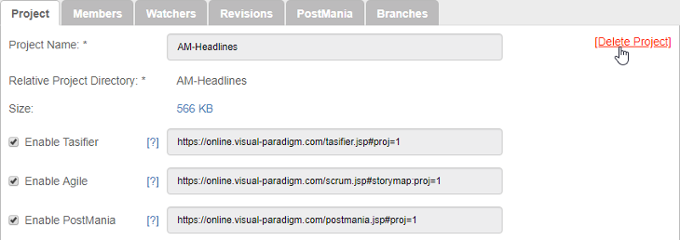
Delete project - You are prompted to answer a math question. Enter the answer and click Delete.
Changing project members' read/commit permissions
- Select Projects from the menu on the left.
- Move your mouse pointer over the row of the project that you want to change its project members' read/commit permissions, then click Edit.
- Open the Members tab. From there you can update the permissions of members. The Read permission means that member can only open the project in Visual Paradigm and read its content. The Read & Commit permission means that member can both open project and commit changes to server.
Purging a project revision
To purge a revision is to delete the revision permanently. By purging a revision, team members working on the purged revision or before will not be able to commit nor update changes. Branches created from any purged revisions, if any, will no longer be able to merge back to the trunk. The action cannot be undone. Think carefully before you purge a revision.
To purge a project revision:
- Select Projects from the menu on the left.
- Move your mouse pointer over the row of the project that you want to change its project members' read/commit permissions, then click Edit.
- Open the Revisions tab.
- Move your mouse pointer over the row of the revision that you want to purge, then click [Purge]. Note that purging will be performed on the selected revision along with all the revisions before it. For example, if you have selected to purge revision 3, revisions 1 to 3 will be purged.
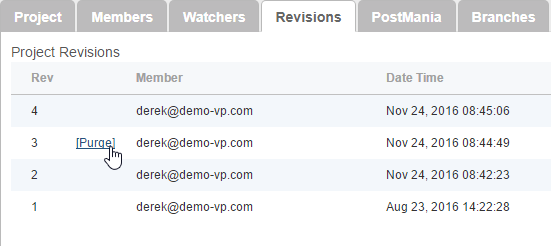
Purge a revision - You are prompted to answer a math question. Enter the answer and click Purge.
Related Resources
The following resources may help you learn more about the topic discussed in this page.
| 10. Managing groups (Active Directory) | Table of Contents | 12. Setting working days and holidays |
