Using Model
A model is a component that you can create in your project to organize shapes and diagrams which acts like a folder. Modelers generally use models to differentiate stages or nature within project such as an "as-is" model for storing diagrams and model elements about the current system and a "to-be" model for recording blueprints of the system to be implemented. The use of model improves not only the structuring of work but also the performance by reducing the number of root model elements to load. As a result, you can look up diagram or model element you need more easily.
To create a model:
- Open the Project Browser by selecting View > Project Browser from the toolbar.
- Open the Model Structure view.
- In the list of model and package, select the parent of the model to be created.

Selecting the parent of the model to be created - Click on the New Model button on top of the model list.
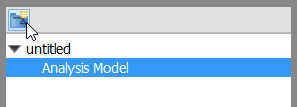
New model - Specify the model's details in the Model Specification window and click OK to confirm.
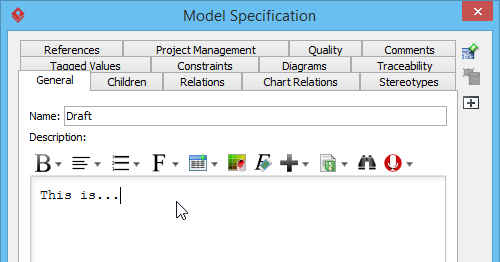
Filling in model specification
Related Resources
The following resources may help you to learn more about the topic discussed in this page.
| Chapter 10. Organizing works with model | Table of Contents | 2. Creating diagram under model |