Writing user story in use case basis
While Use Case is the business goal of an IT system to be developed, user story is the requirement captured by the analyst and customer. No doubt that, all captured requirements aim to fulfill the business goal of the IT system. In other words, all User Stories are based on Use Cases. Therefore, the best way to produce User Stories is to write in Use Case basis.
Benefit of writing User Stories based on Use cases
When you organize User Stories within Use Cases, this can ensure that your User Stories must stay within the system scope. In other words, after the captured requirements are developed, they must match with the goals of the system. As any User Stories which do not fit the business objectives have been eliminated before the development process, no time would be wasted on the development of unrelated features.
Writing User Stories around Use Cases
- Open the User Story page in UeXceler. If you are not currently opening UeXceler, select UeXceler > UeXceler from the toolbar first, and then open the User Story page.

Opening User Story page - Click Add User Story next to the Use Case that you want to add a User Story in.

Add user story in use case - A story card appears. Enter the User Story. Press Enter to confirm editing.

Confirm creating user story - Repeat step 2 and 3 to create other User Stories according to their Use Cases.
Merging of use cases
When you find two use cases similar in nature, you may want to merge them into one single use case. By merging use cases, the containing user stories will be brought to the target use case. To merge a use case to another use case, right click on the 'from' use case and select Related Elements > Merge to Model Element... from the popup menu. In the Merge to Model Element window, select the target use case and click Merge.
Entering a description for user story
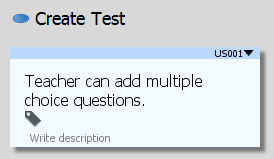
The name of a user story, which is the text that appears on a user story card uses to be short and brief. If you want to describe a user story in more detail, you can enter its description by performing the steps below:
- Select the user story.
- Double click on the text Write description.
- Enter the description.
- Press Ctrl-Enter to confirm editing.
Modifying the ID of a user story
An ID will be automatically generated to each of the user story upon creation. If you want to modify the ID, perform the steps below:
- Double click on a user story to open it.
- Open the Description tab.
- Click on the existing ID and enter your own.

Editing user story's ID - Press Enter to confirm.
Following a user story
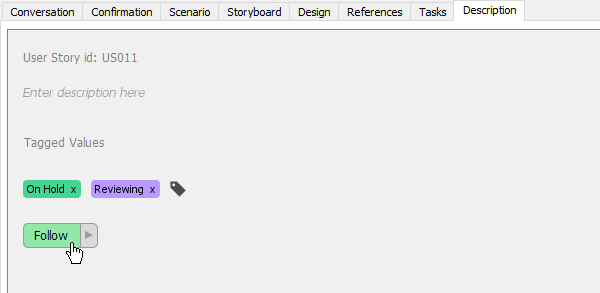
If you want to be informed when someone has made changes to a user story, you can follow the user story. Followers of a user story will receive email notification when the user story is being changed by another one. To follow a user story, click the Follow button under the Description tab of that user story. Of course, email can only be sent when the email address specified in your profile is correct and if the Teamwork Server has mail server properly setup (Not a problem for VPository users).
 |
| Follow user story |
| NOTE: | This feature is only available under a teamwork project. |
Related Resources
The following resources may help you to learn more about the topic discussed in this page.
- Visual Paradigm Know-How - Tips and tricks, Q&A, solutions to users' problems
- Contact us if you need any help or have any suggestion
| 1. Writing general user stories | Table of Contents | 3. Status of a user story |
