Creating shape from stencil pane
The Stencil pane is where user-created stencil shapes are stored. User can create a stencil shape on diagram by first displaying a stencil, dragging and dropping a shape from Stencil pane to diagram. Below are the steps in detail.
- Open the Stencil pane by selecting View > Panes > Stencil from the toolbar.
- Click on the
 (Add Stencil) button in the top of Stencil pane. Select a category from the pop-up list of gallery. Select the stencil to add. The stencil is then added to the Stencil pane.
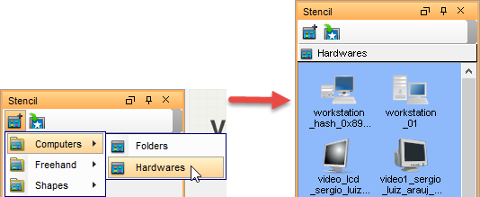
Add a stencil NOTE: You can add multiple stencil by repeating this step. - Press on a shape in the Stencil pane and drag it out of the Stencil pane and drop it on the diagram to create the shape.

Dragging shape out of Stencil pane - You can also use generic connector to connect built-in notations shapes and stencil shapes. To do so, select Generic Connector in the diagram toolbar.

Select Generic Connector from the diagram toolbar - Press on the source shape, hold the mouse button, move the mouse cursor to the target shape and release the mouse button.
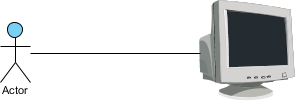
Connecting an Actor with a stencil shape
Related Resources
The following resources may help you to learn more about the topic discussed in this page.
| 1. Creating Shape in Shape Editor | Table of Contents | Chapter 9. Customizing user interface |